Ever noticed how some eBay listings skyrocket in visibility overnight, while others sit buried on page five like forgotten relics of the internet? It’s not luck: it’s the eBay algorithm at work.
Behind every search result on eBay, there’s a system quietly deciding which listings deserve the spotlight. That system has a name: Cassini, eBay’s search engine. And understanding how Cassini thinks is one of the biggest competitive advantages a seller can have.
Cassini is kind of eBay’s matchmaker. Its job is to connect buyers with the most relevant, trustworthy, and well-performing listings, but like any algorithm, it plays favorites. It rewards listings that are optimized for engagement, conversion, and consistency.
In this guide, we’ll break down how the eBay algorithm works, reveal the key ranking factors, and give you practical strategies to climb the search results. Starting dropshipping on eBay and thriving is easy thanks to automation tools like AutoDS, which provides optimized product listings, smart repricing, and performance tracking to help boost sales effortlessly.
Cassini is eBay’s search engine that ranks listings based on relevance, performance, and engagement.
Optimizing titles, item specifics, and images helps Cassini understand and promote your listings.
Consistent pricing, fast shipping, and reliable order fulfillment strengthen your seller performance score.
Running promotions, updating inventory, and testing new titles keep your listings active and visible.
AutoDS helps sellers rank higher on eBay by automating listing optimization, price sync, and fulfillment tasks.
What Is the eBay Algorithm (Cassini)?
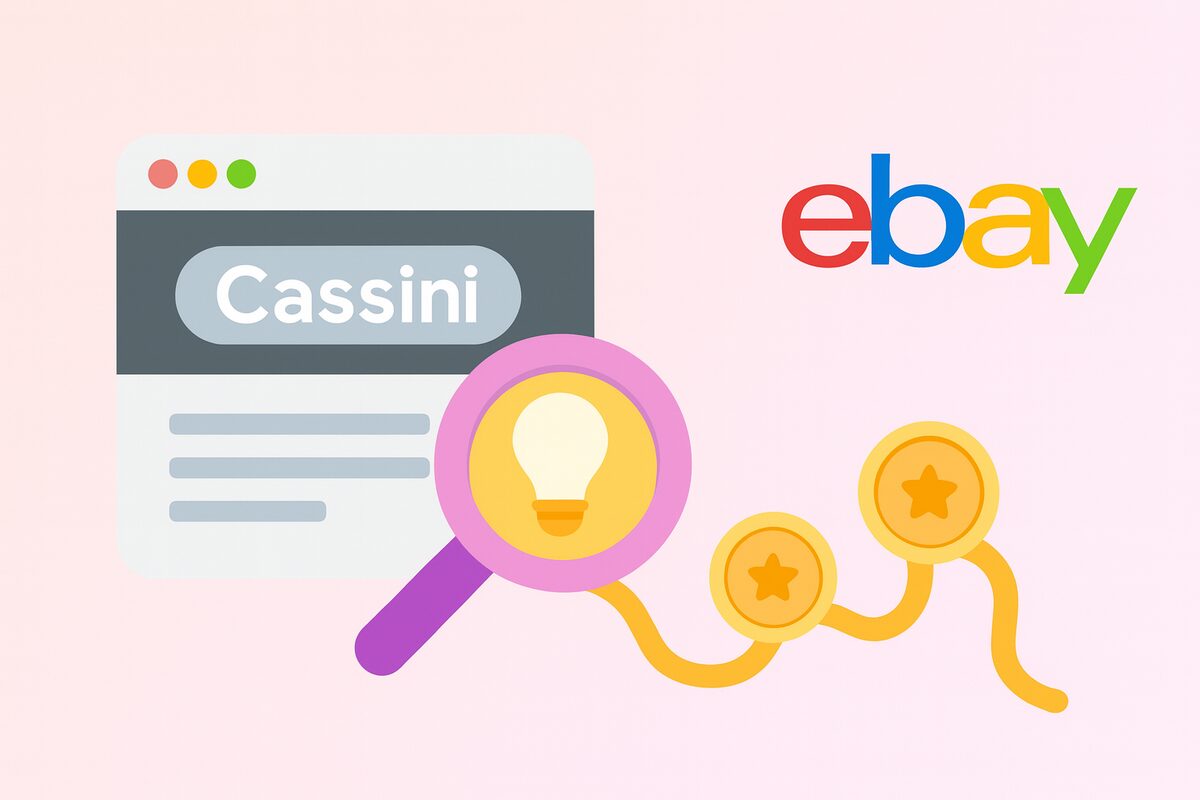
The eBay algorithm, known as Cassini, decides which listings appear when buyers type a keyword and in what order.
If you’ve worked with Google SEO, the concept will sound familiar. Cassini works the same way: it ranks listings based on relevance, quality, and user experience. But instead of web pages, Cassini evaluates product listings, seller performance, and buyer behavior to decide who deserves visibility.
In simple terms, Cassini’s main goal is to connect buyers with the listings most likely to result in a sale. That means it rewards sellers who create listings that convert well, have positive feedback, and maintain strong engagement metrics, such as clicks, watch lists, and purchases.
You can think of it as a simple equation:
Visibility = Conversions + Engagement
The more people interact with and buy from your listings, the more Cassini trusts you, and the higher you climb in search results.
How the eBay Algorithm Ranks Listings
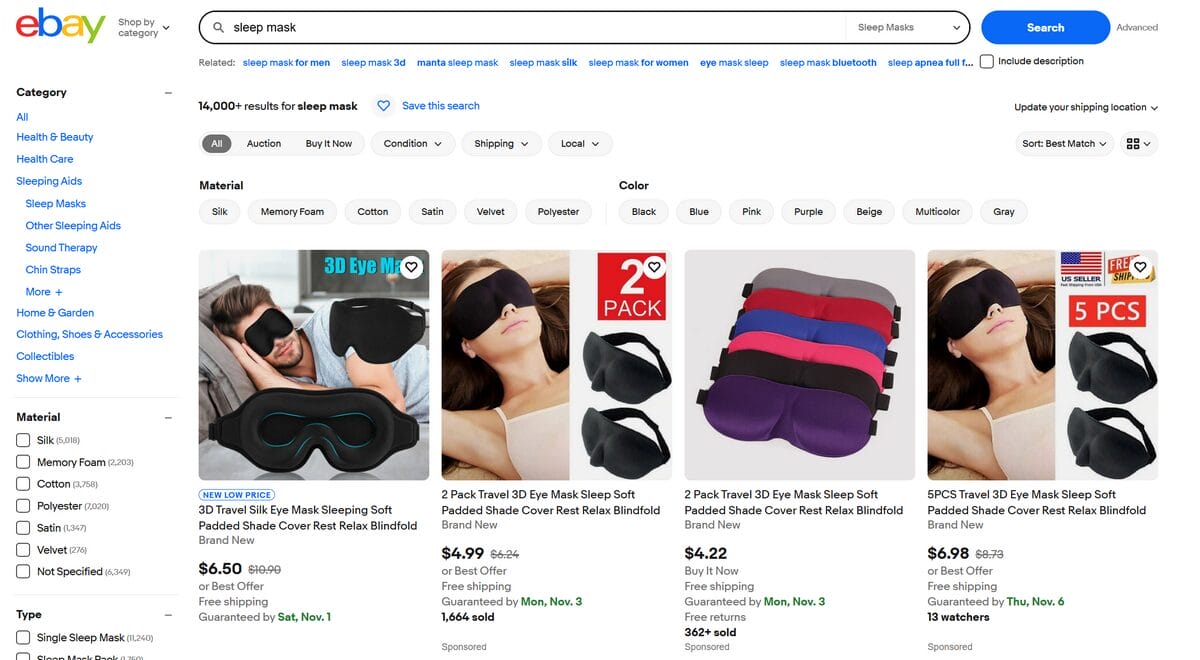
Once you know Cassini exists, the next step is learning what actually makes it tick. eBay’s algorithm isn’t random. It constantly analyzes dozens of signals to determine which listings deserve the top spots. These signals fall into a few main categories: seller performance, keyword relevance, engagement, price, and sales history.
Let’s break them down one by one.
Seller Performance & Account Health
Cassini wants buyers to have a good experience — so it rewards sellers who consistently deliver. Your feedback score, defect rate, return policy, and shipping speed all feed into your account’s overall health.
Top-rated sellers, for instance, are proven to offer reliability, quick handling times, and excellent service. That badge is kind of a flex, but it’s also a ranking boost. Cassini sees it as a trust signal, meaning your listings are more likely to appear at the top when buyers search.
AutoDS offers automated order fulfillment and real-time tracking updates that improve seller metrics automatically. By eliminating delays and errors, AutoDS helps you maintain strong account health without having to babysit every transaction.
📦 Supplier’s Tip: Always choose suppliers with fast processing and accurate tracking. Even a few delayed orders can impact your defect rate and lower visibility.
Keyword Relevance & Listing Optimization
Cassini can’t show your listings if it doesn’t understand what you’re selling; that’s why keyword optimization is critical. Your title, item specifics, and description should all use natural, relevant keywords that reflect how buyers search.
For example, “wireless Bluetooth earbuds noise-canceling” will outperform “earphones great sound” because it matches real search intent.
Also, don’t skip structured data. eBay’s categories and attributes (like color, size, or brand) help Cassini match your product to buyer filters. Missing or inaccurate attributes can cause your listing to disappear from filtered results altogether.
AutoDS helps optimize your eBay listings at scale, letting you bulk-edit titles, fill in item specifics, and sync categories automatically.
💡 Pro Tip: Use AutoDS’s eBay listing tool to test different title variations. A single keyword change can make a surprising difference in impressions.
Listing Engagement (CTR, Watchers, Conversion Rate)
eBay’s algorithm pays close attention to how buyers interact with your listings. If people are clicking, watching, and buying, Cassini takes it as proof that your listing satisfies real demand and pushes it higher in search.
That’s why your main image, pricing strategy, and shipping offer matter more than you think. A high-quality photo and competitive price can lift your click-through rate (CTR), while free shipping and fast delivery can close the sale.
📢 Marketing Tip: Use eBay promotions like markdowns or coupons to spark engagement. Even a small discount can boost visibility by signaling activity and freshness to Cassini.
Price Competitiveness & Shipping
When Cassini compares listings, it looks at the total buyer cost, including shipping. That’s why offering free shipping (and baking the cost into your item price) often performs better than showing a separate shipping fee.
Sellers with consistent, transparent pricing tend to build buyer trust, which leads to higher conversions — and therefore higher ranking.
AutoDS automates dynamic repricing across your eBay listings, ensuring your offers stay competitive without constant manual updates. If your supplier price drops, AutoDS adjusts your listing automatically, keeping you in the algorithm’s good graces.
💰 Financial Tip: Experiment with small, smart price adjustments instead of big discounts. Cassini values steady engagement over sudden fluctuations.
Historical Performance & Sell-Through Rate
Cassini loves consistency. The more sales a listing generates over time (and the fewer issues it encounters), the more authority it gains. That’s why the sell-through rate (the ratio of sold vs. active listings) is such an important metric.
Old listings that sit unsold for months can drag your account down, while steady, reliable sales help you climb. Refreshing or renewing listings can also help keep them active in Cassini’s memory.
AutoDS keeps your listings in sync and automatically relists items once they’re back in stock, maintaining that crucial sales momentum Cassini looks for.
🔁 Automation Tip: Schedule regular inventory updates to prevent dead listings. Cassini rewards “alive” stores that show movement and activity.
How To Optimize Your eBay Listings for eBay’s Algorithm
So now that you understand how Cassini works, it’s time to actually make it fall in love with your listings.
Step 1: Perform Keyword Research

Keywords are how Cassini understands what you’re selling, so start here. Think of them as your bridge between what buyers type and what you sell.
Start with eBay’s search bar itself. Type a few words related to your product and see what the autocomplete suggestions show. Those phrases reflect what real shoppers are searching for right now.
You can also use Terapeak (built into eBay’s Seller Hub) to check search volume and competition for specific keywords, or try the AutoDS Market Research Tool, which finds trending products and their best-performing keyword sets for you automatically.
Instead of a vague title like “Phone Case”, try something more specific and search-friendly like “iPhone 14 Pro Max Clear Silicone Case Shockproof”. That’s what buyers are actually typing.
🆕 Beginner’s Tip: Focus on long-tail keywords — phrases with three or more words. They’re less competitive and attract buyers who already know what they want.
Step 2: Craft SEO-Optimized Titles
Your title is the first thing Cassini reads, so you want it to be clear, keyword-rich, and natural.
Here’s a simple format that works every time: Main keyword + specific feature + condition
Example:
✅ “Wireless Bluetooth Headphones WH-1000XM5 Noise Cancelling – New Sealed”
❌ “Headphones Best Sound Quality Free Shipping” (too vague, and keyword stuffing doesn’t help).
Avoid repeating words or cramming too many variations. Cassini can spot spammy titles from a mile away. Keep it short, clean, and easy to read for humans and algorithms.
Step 3: Optimize Item Specifics & Descriptions
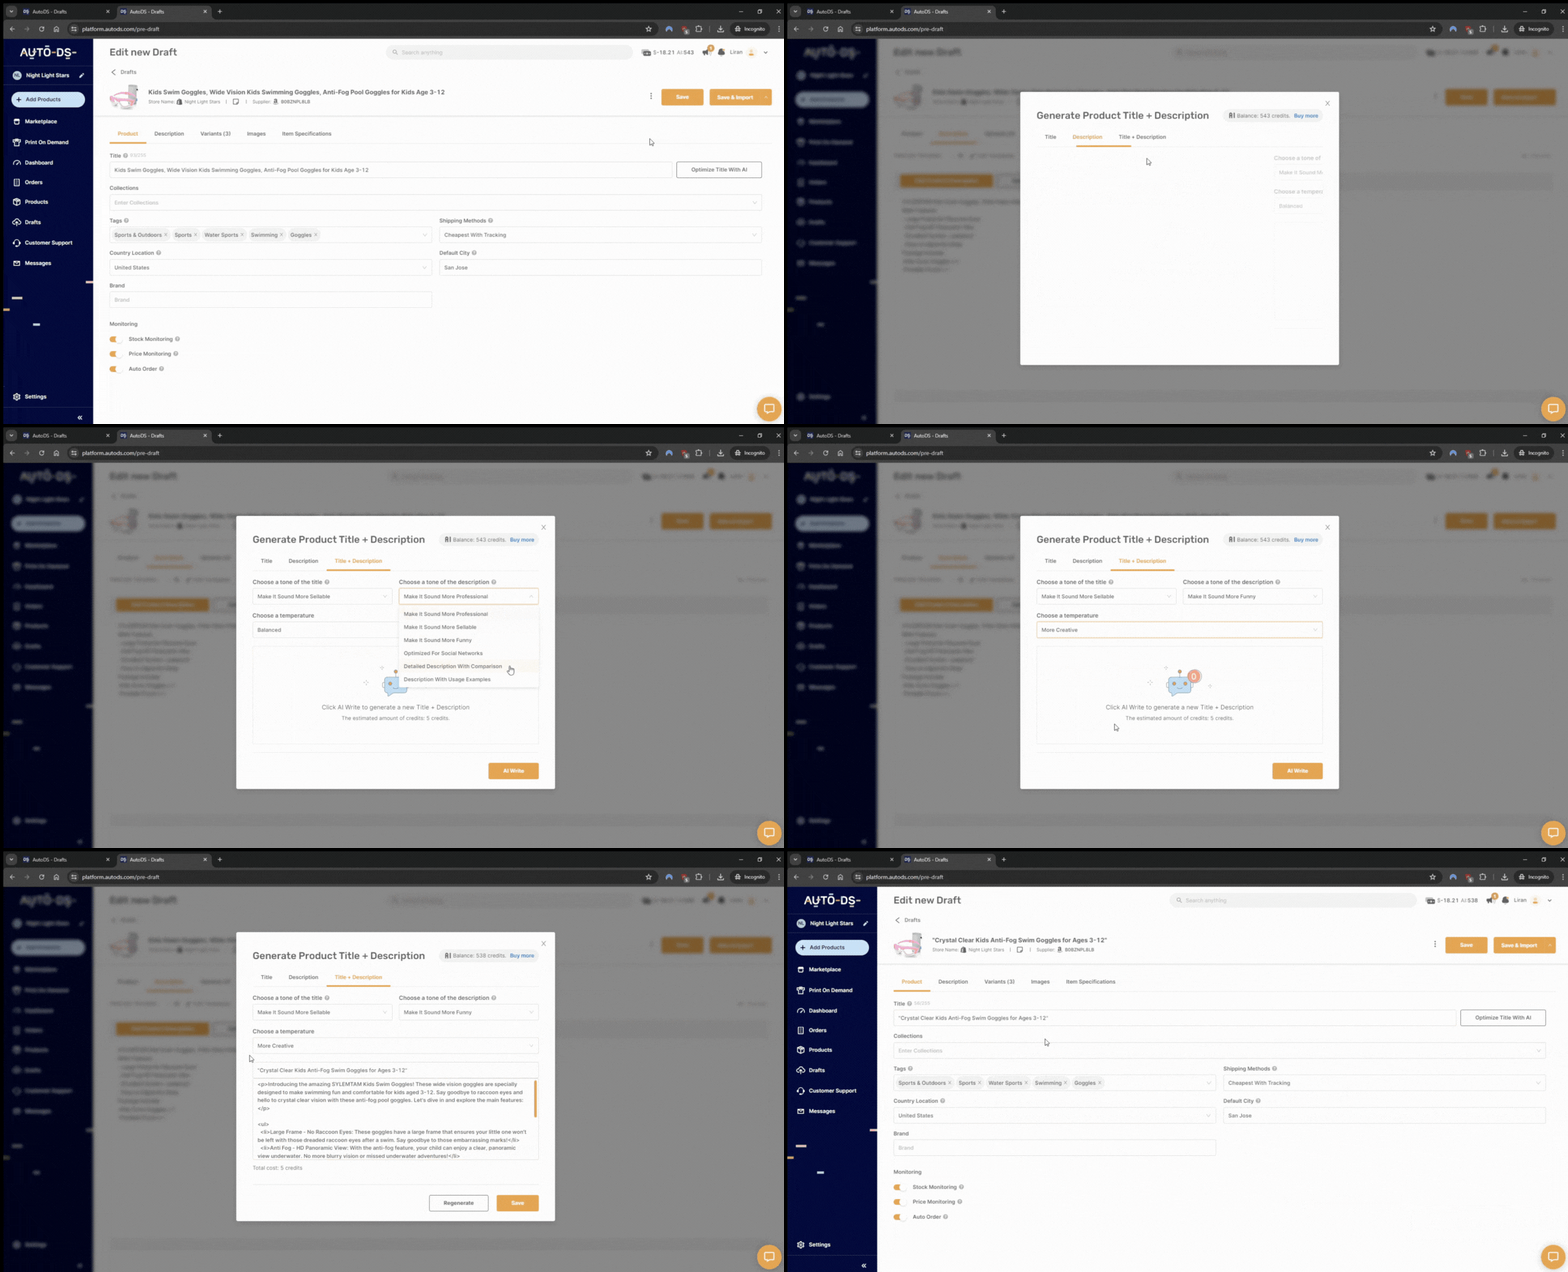
Item specifics are Cassini’s secret language. They tell the algorithm what your product actually is: color, size, material, brand, condition, and more.
If you leave them blank or inconsistent, Cassini won’t know how to match your listing to buyer filters. Always fill in every field you can; it’s free visibility.
When writing your description, sprinkle in your main keywords naturally. Focus on benefits, not just features. Instead of “plastic handle,” say “lightweight plastic handle that’s easy to grip.” It helps buyers visualize the product and builds trust.
💡 Pro Tip: Use AutoDS AI Title & Description generator to automatically suggest high-performing title variations based on keyword data from winning products.
Also, add lifestyle photos (like someone using the product) and trust signals such as return policies, warranty notes, or verified supplier info.
Step 4: Improve Click-Through Rate (CTR)
You could have the best product ever, but if no one clicks your listing, Cassini won’t care. CTR is all about getting shoppers to stop scrolling.
Start by testing your main image. Use a clean white background, good lighting, and make sure the product fills at least 80% of the frame. Avoid text overlays or messy backdrops.
Next, look at your price point. If your item is 20% more expensive than others on the page, buyers won’t click unless you justify it with value (like faster shipping or better packaging).
Encourage engagement through markdowns, volume discounts, or coupon codes. Even small promos can give Cassini that “this listing is active and popular” signal.
Step 5: Enhance Conversion Rate
Once buyers land on your page, your job is to convince them to click “Buy It Now.” Cassini favors listings that convert, because that’s what eBay ultimately wants: sales.
Here’s how to improve conversions:
- Offer 30-day returns (it increases buyer confidence).
- Provide fast, tracked shipping — buyers love transparency.
- Include detailed product info and clear photos.
- Respond quickly to messages. Cassini tracks seller responsiveness.
Example:
If a buyer asks about delivery time and you reply within minutes, it’s a small win that adds up. Cassini sees you as a reliable seller, and that means better ranking.
Step 6: Automate Your Optimization Process
Optimization isn’t a one-time project; it’s an ongoing process. Prices change, products go out of stock, and trends evolve. That’s why automation matters.
AutoDS automates your entire eBay optimization process by:
- Syncing inventory and prices in real time.
- Optimizing titles, descriptions, and templates with keyword insights.
- Automatically relisting best-performing or sold-out items.
With AutoDS doing the heavy lifting, you can focus on what really matters: researching products, improving customer experience, and scaling your store.
Common Mistakes That Hurt eBay Algorithm Ranking

Even small oversights can make Cassini quietly drop your listings lower in search results. Here are the most common mistakes that hurt visibility and how to fix them.
Using irrelevant or spammy keywords
Cassini ranks listings based on relevance. Stuffing your titles with random or misleading keywords (like adding “cheap” or unrelated products) makes your listings look low-quality and confuses the algorithm. Stick to natural, buyer-focused phrases that match real search intent.
Ignoring item specifics or using poor images
Leaving attributes blank or uploading low-quality photos is a fast way to lose visibility. Cassini relies on item specifics to match products to search filters, and buyers rely on good visuals to click. Fill out every attribute and use clear, well-lit photos that show your product from multiple angles.
Canceling orders frequently or shipping late
Every late shipment or canceled order lowers your seller performance score, and Cassini notices. High defect rates tell the algorithm you’re unreliable, so it pushes your listings down. This can even lead to the eBay MC011 restrictions. Use AutoDS’s automated fulfillment and real-time tracking updates to maintain flawless delivery performance and strong account health.
Overpricing or inconsistent listing activity
If your listings sit untouched for months or your prices fluctuate too often, the algorithm assumes your store isn’t active or trustworthy. Keep your pricing fair and update listings regularly.
AutoDS price automation adjusts your product prices in real time to stay competitive without constant manual edits.
Not testing titles and pricing regularly
What works today may not work next month. Failing to test new titles, images, or pricing means missing opportunities to boost performance. Even small tweaks can lift engagement.
Advanced Strategies to Beat Competitors When Dropshipping on eBay
Once your listings are optimized, it’s time to go from “visible” to “unbeatable.” These advanced tactics help you outsmart competitors, boost engagement, and keep Cassini interested in your store in the long term.
Use multi-variation listings for higher engagement
Instead of creating separate listings for each color or size, combine them into one multi-variation listing. This keeps buyers browsing longer, which boosts your engagement and conversion metrics. AutoDS helps you manage multi-variation listings easily, automatically syncing all variations’ stock and prices.
Cross-promote related listings to increase your average order value (AOV)
Use your listing description or eBay’s “Send buyers to your store” option to suggest complementary items. If someone buys a phone case, recommend a screen protector or wireless charger. Cross-selling increases total revenue and gives Cassini more data about buyer engagement across your store.
Run eBay promotions and use promoted listings strategically
Cassini favors active sellers, and nothing signals activity like running deals. Use markdown sales, coupons, or multi-buy discounts to encourage clicks and purchases.
Combine that with eBay’s Promoted Listings feature to get your items featured in top spots for high-intent keywords. Even a small ad budget can dramatically improve visibility.
Monitor analytics via AutoDS dashboards for performance insights
Data is your best competitive weapon. Check your CTR, conversion rate, and price competitiveness regularly to understand what’s working (and what’s not).
AutoDS provides detailed analytics dashboards that visualize your performance in real time, helping you make smarter, faster decisions without diving into spreadsheets.
Keep your inventory fresh — Cassini rewards activity
The more often you update, restock, or tweak your listings, the more visibility you earn. Old, untouched listings slowly lose ranking over time. AutoDS automatically relists sold-out items and keeps inventory synced with suppliers, so your store always looks active and up to date.
How AutoDS Helps You Rank Higher on eBay
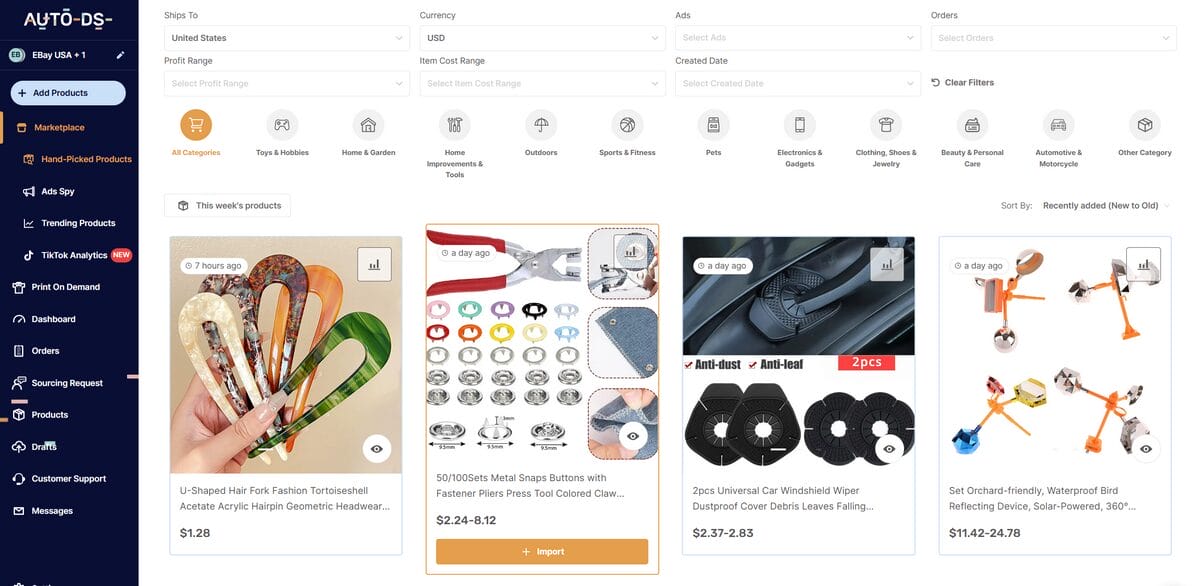
If you’ve read this far, you already know that ranking high on eBay is about doing a lot of small things consistently and correctly. The catch? Doing all that manually is exhausting. That’s where automation becomes your best friend.
AutoDS helps sellers improve their eBay ranking by automating all repetitive optimization tasks. It takes care of everything Cassini cares about (from price accuracy to listing freshness) so your store stays active, competitive, and compliant 24/7.
“I genuinely believe AutoDS is the best supplier in the game” – Jordan Welch (dropshipper)
1. Pricing Sync
Cassini favors listings that stay competitive, but price monitoring can easily turn into a full-time job.
AutoDS automatically syncs your prices with your suppliers, updating them whenever costs change — whether they drop, rise, or include shipping updates. This ensures your listings always stay in the “sweet spot” for eBay’s algorithm: competitive but profitable.
💡 Pro Tip: Set AutoDS’s smart repricer to adjust prices based on competitor listings. It helps you maintain the perfect balance between visibility and margins.
2. Inventory Management
Out-of-stock products are Cassini’s biggest red flag. When you oversell an unavailable item, it hurts your defect rate and lowers your overall seller performance.
AutoDS automates real-time inventory tracking, instantly updating your eBay listings whenever your supplier’s stock changes. That means no more canceled orders, no disappointed customers, and no algorithm penalties.
Automate your eBay growth with AutoDS: Sync prices, optimize listings, and boost sales effortlessly. → Start your $1 trial today
3. Order Fulfillment
Speed matters. Late shipments can quietly drag down your visibility score even if your product and keywords are perfect.
With Fulfilled by AutoDS, every order is processed and shipped automatically — tracking numbers included. This consistent speed improves your shipping metrics, reduces handling errors, and keeps you eligible for “Top Rated Seller” status — all of which Cassini loves.
4. Title Optimization
Your title is Cassini’s first impression. The problem? Optimizing hundreds of titles manually takes forever.
AutoDS’s title optimization tool analyzes keywords and performance data from top-selling products to suggest better variations automatically. The result: higher click-through rates, better visibility, and cleaner, keyword-rich listings that attract real buyers — not just impressions.
AutoDS improves listing visibility by generating optimized, data-driven titles aligned with eBay’s search intent.
5. Product Import With SEO-Friendly Templates
Manually uploading products is tedious and risky — formatting errors or missing details can cause Cassini to overlook your listings entirely.
With AutoDS’s one-click product importer, you can add products directly from supported suppliers (like AliExpress, Amazon, or Walmart) using ready-made, SEO-friendly templates that already include optimized titles, descriptions, and images. This not only saves time but ensures every listing meets eBay’s structured data requirements right from the start.
🆕 Beginner’s Tip: Import a few winning products and let AutoDS apply its optimized template automatically — it’s a quick way to see instant results in impressions and clicks.
In short, AutoDS is your best Cassini assistant. It keeps your listings fresh, your pricing sharp, and your fulfillment fast, all while helping you build the consistent, trustworthy performance eBay’s algorithm rewards the most.
Frequently Asked Questions
What is Cassini on eBay?
Cassini is eBay’s internal search engine that determines which listings appear first in search results. It evaluates every listing using hundreds of signals — including title relevance, item specifics, price competitiveness, engagement rate, and seller performance.
How long does it take to rank on eBay?
New listings typically need one to two weeks of consistent engagement before Cassini starts rewarding them with better placement. During that period, it’s crucial to keep your listing active by making small adjustments, testing titles or prices, and ensuring quick response times. Cassini values consistency.
Do promoted listings help with ranking?
Yes. Promoted listings can significantly influence your organic ranking, even beyond paid clicks. Cassini treats impressions and engagement from promoted listings as positive signals of buyer interest. AutoDS assists sellers in identifying which promoted listings deliver the highest engagement and ROI through real-time analytics.
Does AutoDS affect eBay SEO?
Absolutely. AutoDS has a direct, positive impact on your eBay SEO by keeping all your listings optimized, accurate, and aligned with Cassini’s ranking factors. It syncs prices and inventory in real time, prevents stockouts, automates order fulfillment, and optimizes titles and descriptions based on performance data.
What’s the difference between Cassini and eBay’s Best Match?
Cassini and Best Match are connected but not identical. Cassini is the underlying search engine technology that powers all of eBay’s search results. Best Match is the default ranking system Cassini uses to order listings for buyers based on relevance and performance. In other words, Cassini gathers the data, while Best Match uses it to decide which listings appear first. Sellers who optimize for Cassini naturally perform better under Best Match results.
Start Optimizing Your eBay Listings with AutoDS Today
Mastering the eBay algorithm means maintaining consistency, precision, and speed across every part of your business. From pricing to fulfillment, every small detail impacts how Cassini ranks your listings. The sellers who win are the ones who can do all of it, every day, without slipping.
That’s why automation is no longer optional. AutoDS gives eBay sellers a competitive edge by automating all Cassini-related tasks, keeping your listings optimized, your prices competitive, and your performance metrics strong. Instead of spending hours adjusting listings manually, you can focus on strategy, growth, and customer experience. Those are the things that actually move your store forward.
In 2026, the sellers who combine data-driven optimization with reliable automation are the ones who stand out in eBay’s crowded marketplace. Cassini rewards sellers who stay active, relevant, and accurate, and that’s exactly what AutoDS helps you achieve every single day.
Ready to boost your eBay visibility? Start your $1 AutoDS trial and let automation take your store from “listed” to “ranked.”
For more eBay dropshipping info and overall expert data, check out these pieces:


